Neurographic Art Activity
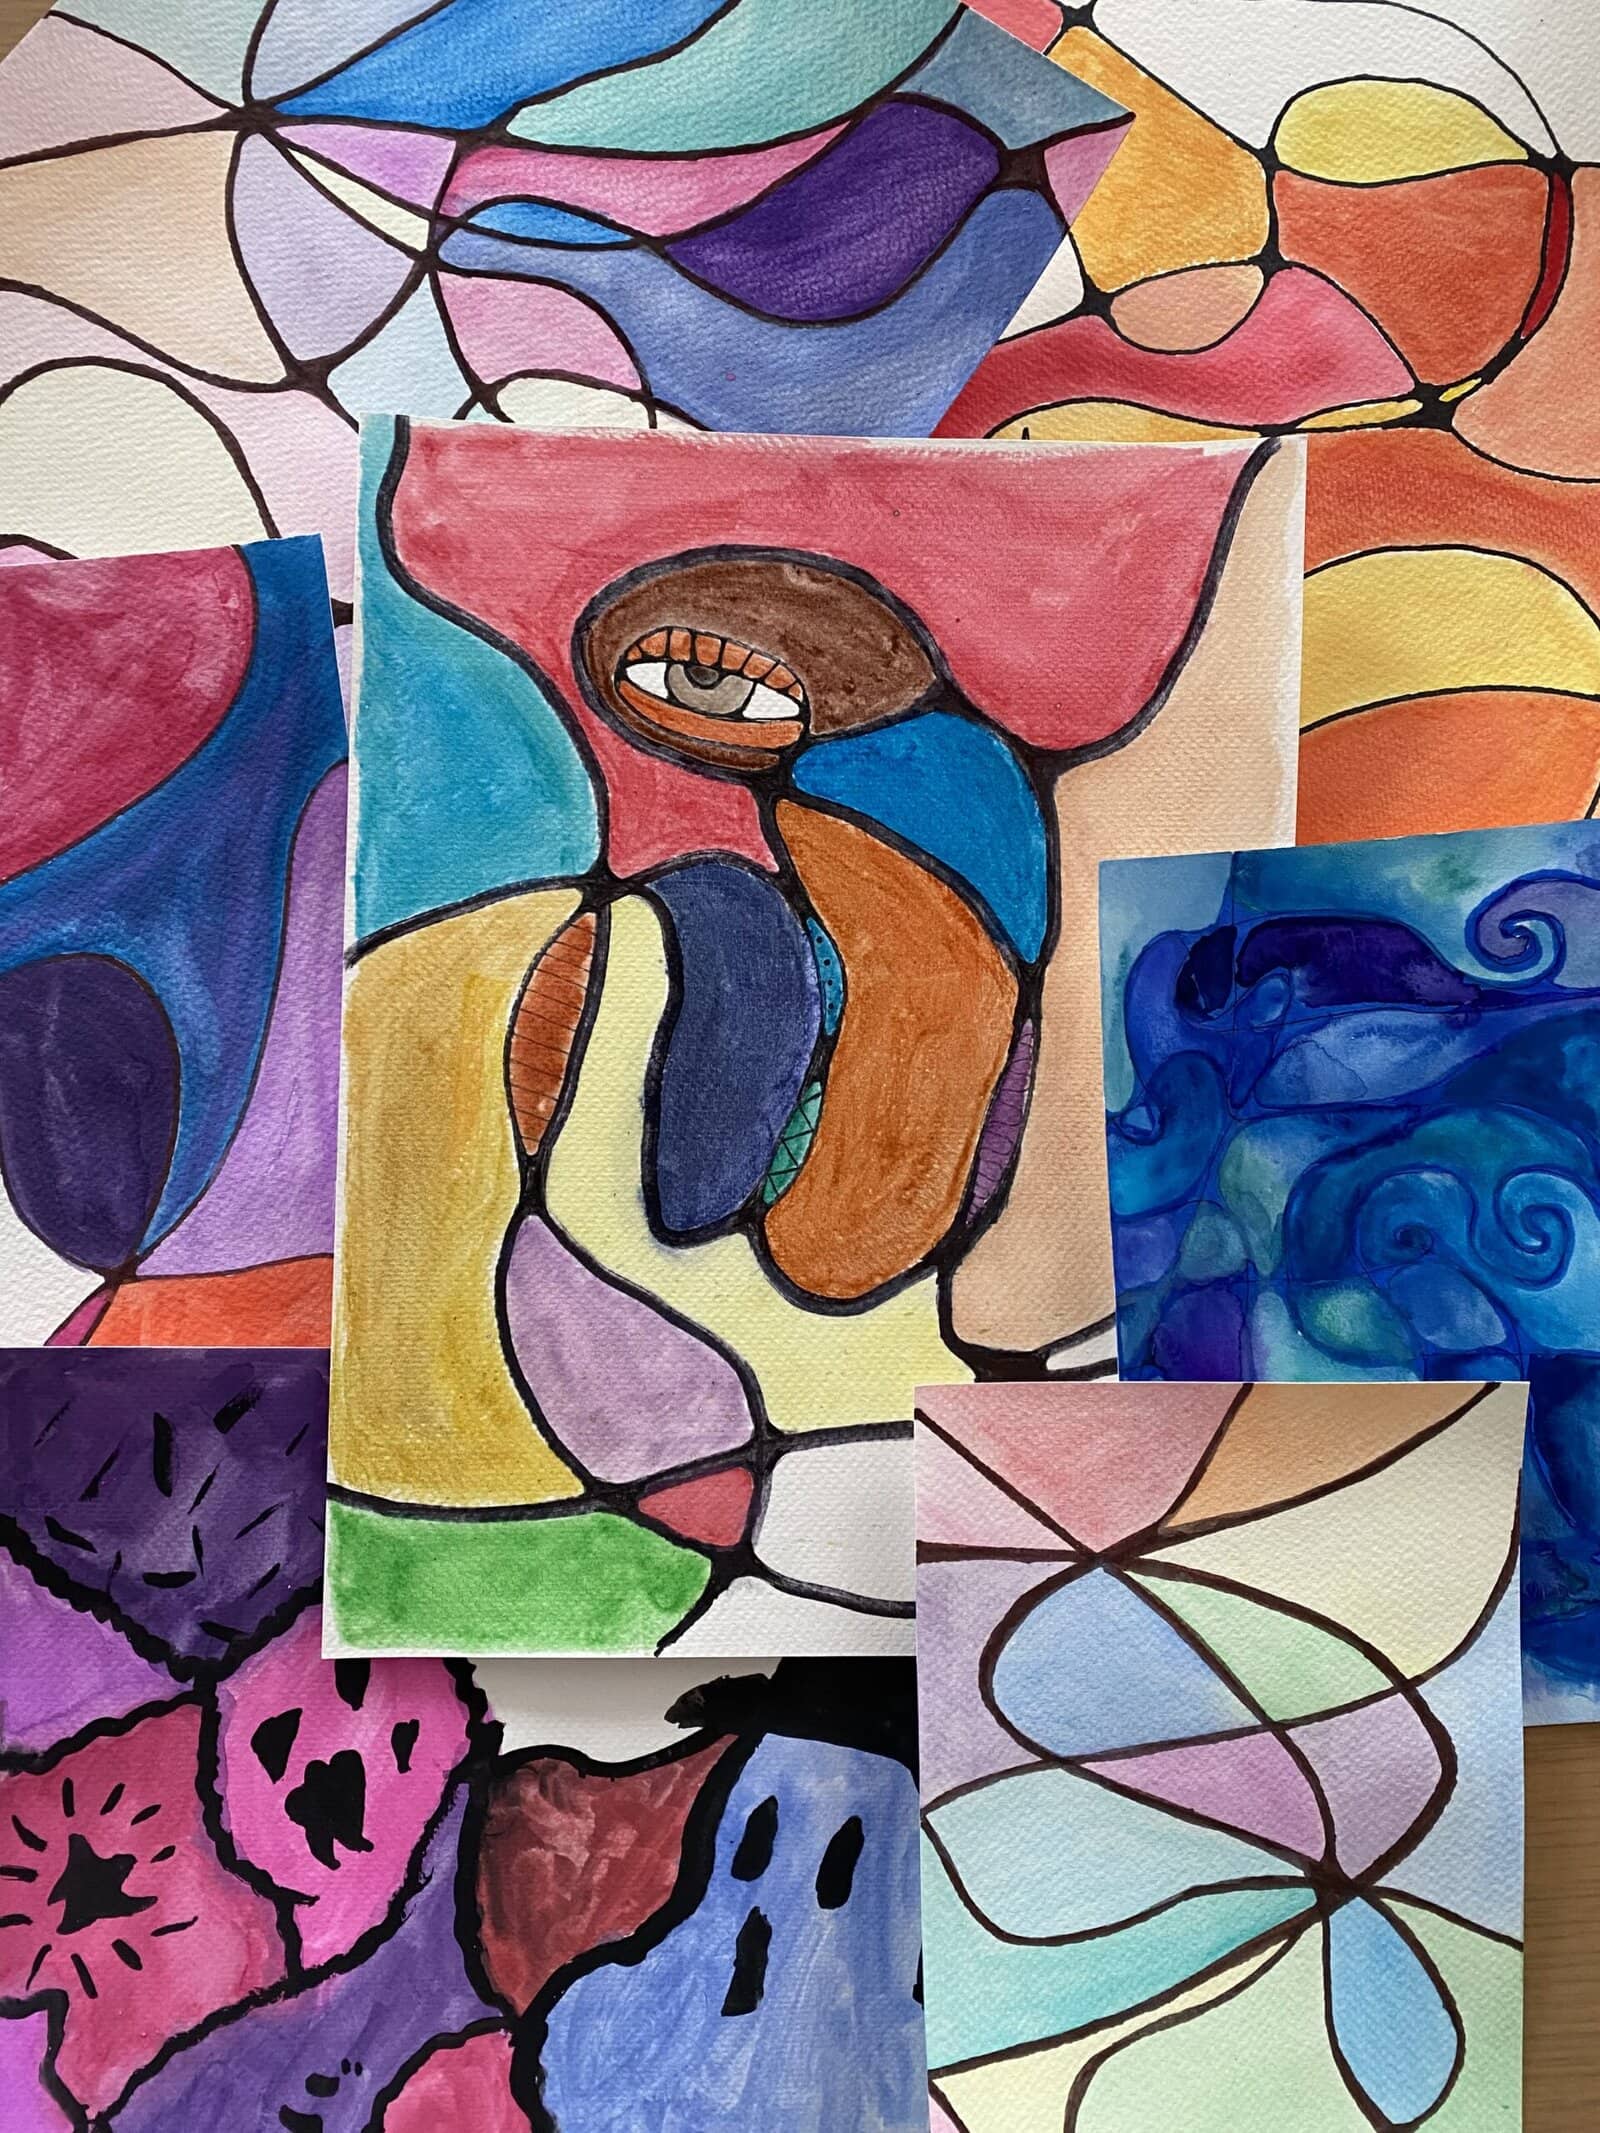
Neurographic Art combines art and psychology to facilitate mindfulness and self-discovery—It’s also just a low-stress, easy, and accessible activity. It’s entirely customizable, from how long you spend creating it to what materials you use; it’s fantastic for getting unblocked when you’re feeling stuck.
Materials
- Drawing Materials* (Pencils, Pens, Markers, Anything!)
- *Distinct or dark colours for the lines, like black, dark blue or brown.
- Paper (Any kind!)
- Paint or Colouring Materials (Watercolours, acrylic paint, pastels, crayons, etc!)
Step-by-Step
Step 1: Set an Intention
Consider setting an intention for this work to guide you as you create. You can choose to focus on an emotion, an issue, or a topic. Try to return to this intention periodically throughout the activity. Try to condense your intention to one or two words.
For example:
- If your intention is a question, like Do I take a gap year after graduating? Do I get a puppy or a fish? You could write “Gap Year” or “Pet” on the back of your page.
- If your intention is to focus on specific emotion, or issue like a disagreement with your parents, or you’re feeling sad, you could write, “Conflict” or “Why Sad?”
The point of setting an intention isn’t to find a solution or have a clear yes or no answer. The point of setting the intention is to get closer to how you feel; it’s to focus your attention on all the options, emotions, or perspectives that come up.
*Your intention can also be to not set an intention. Creating something for the sake of creating is just as important and purposeful.
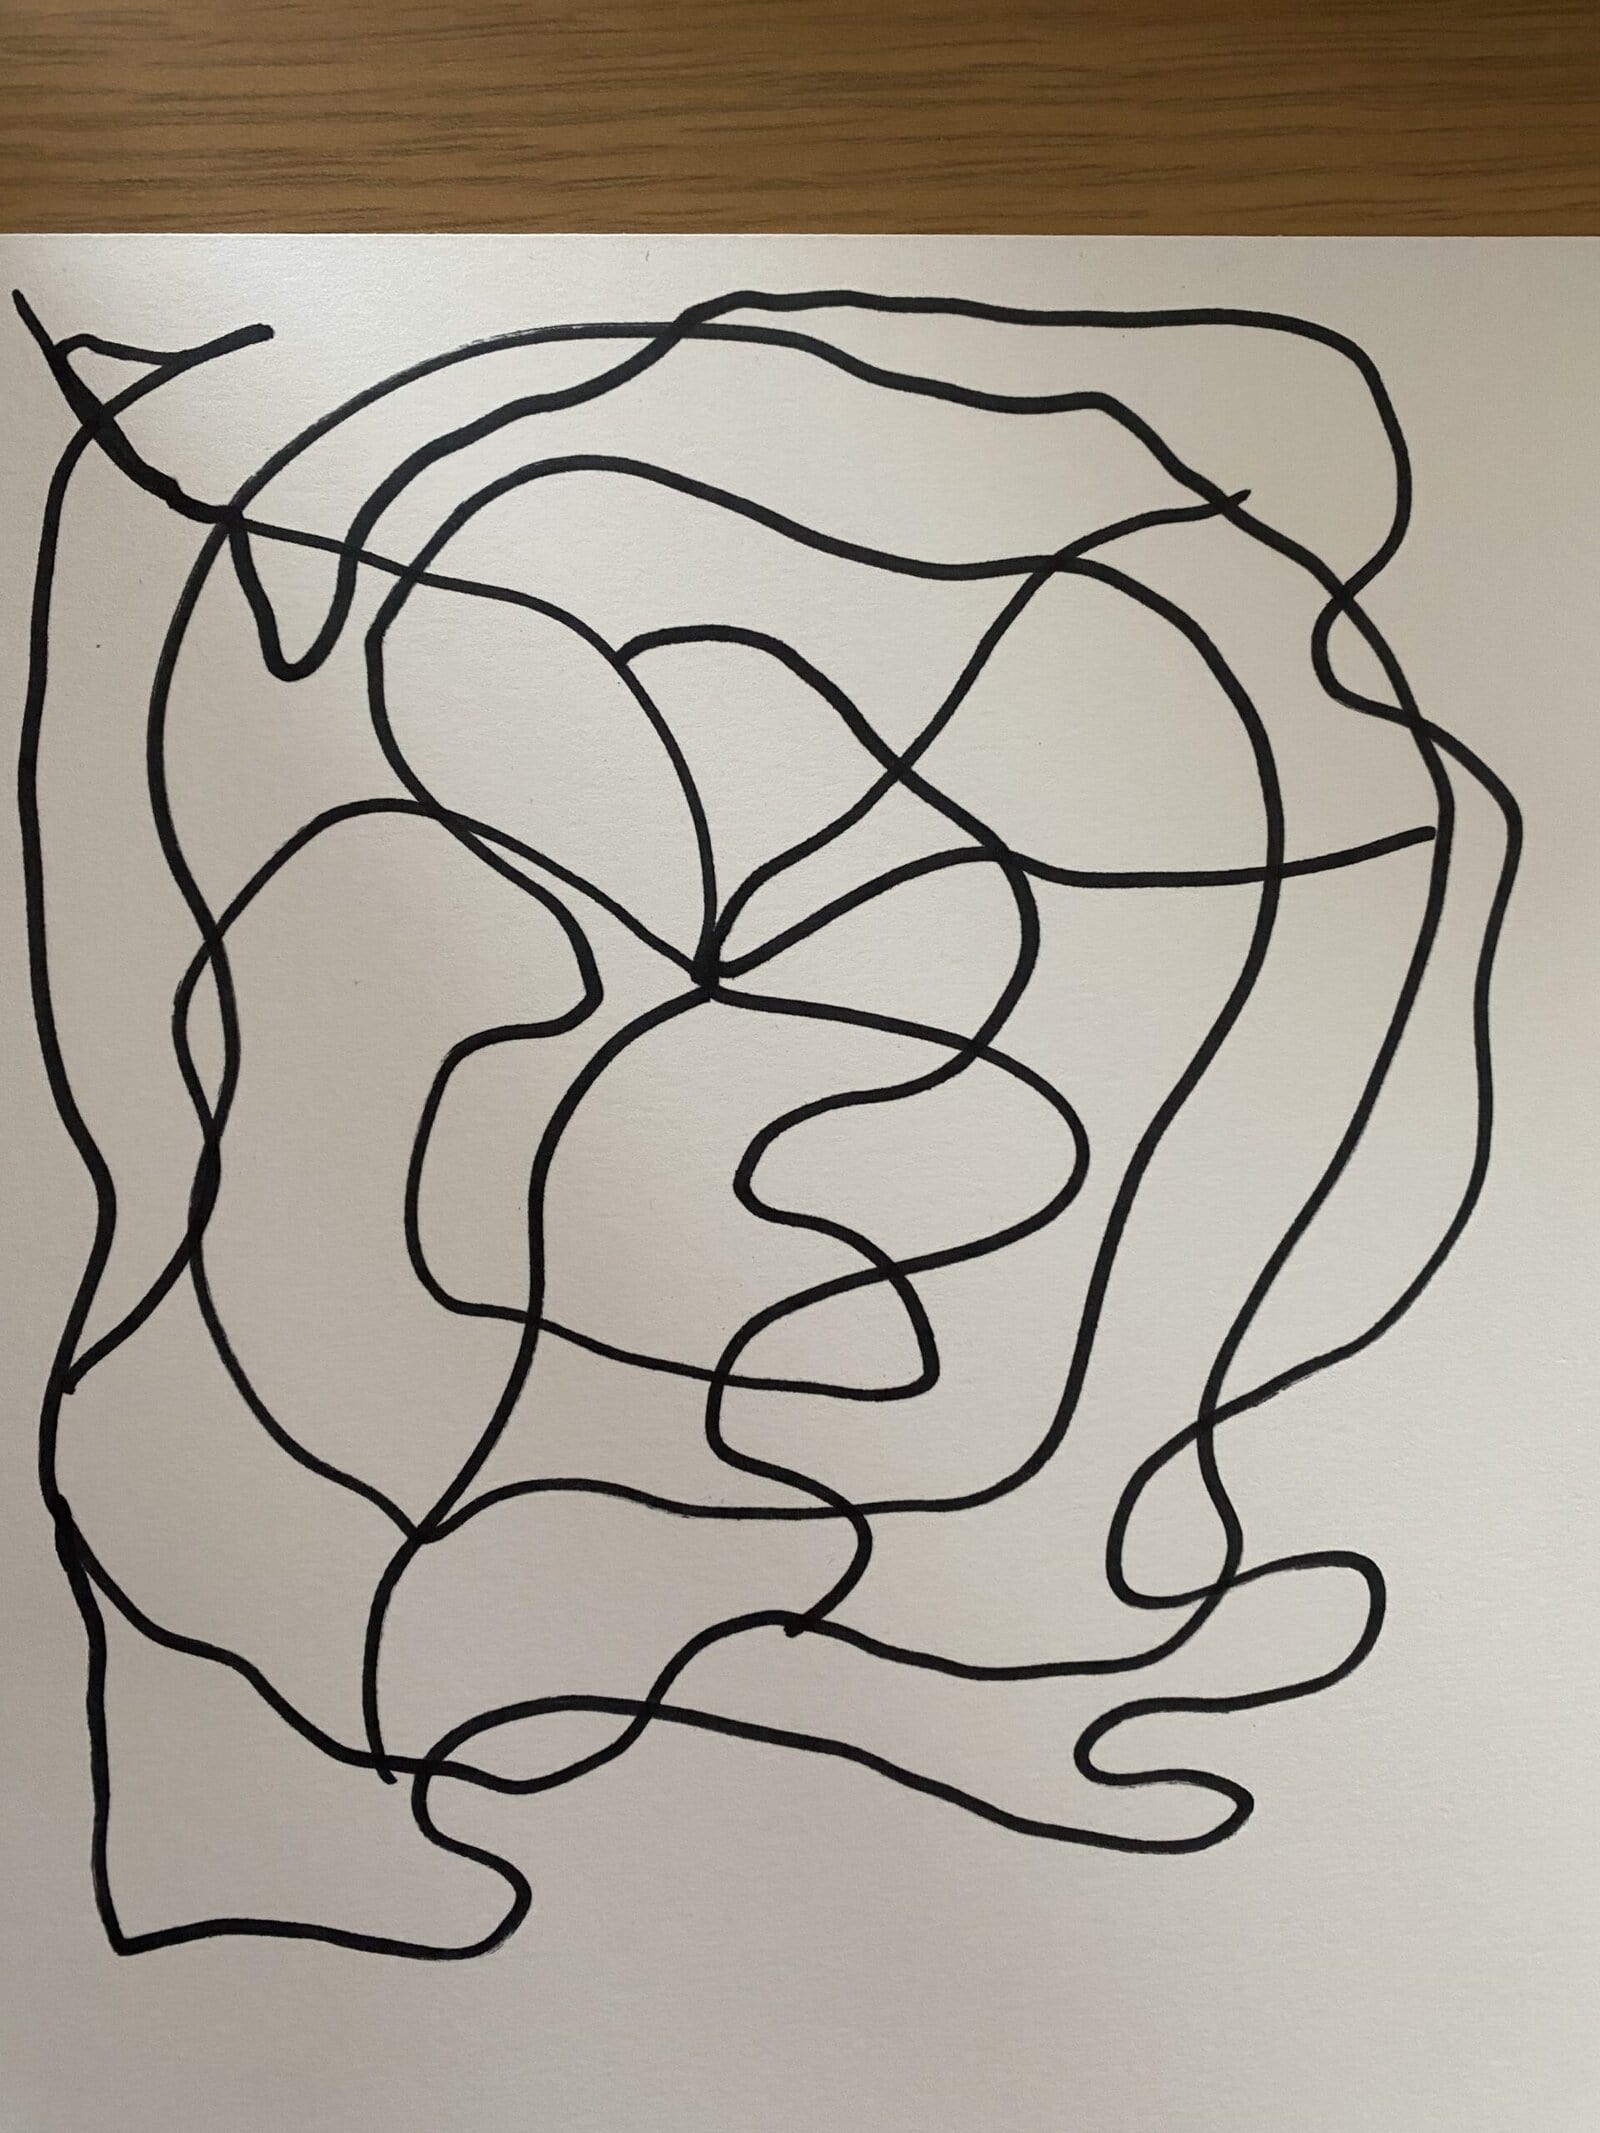
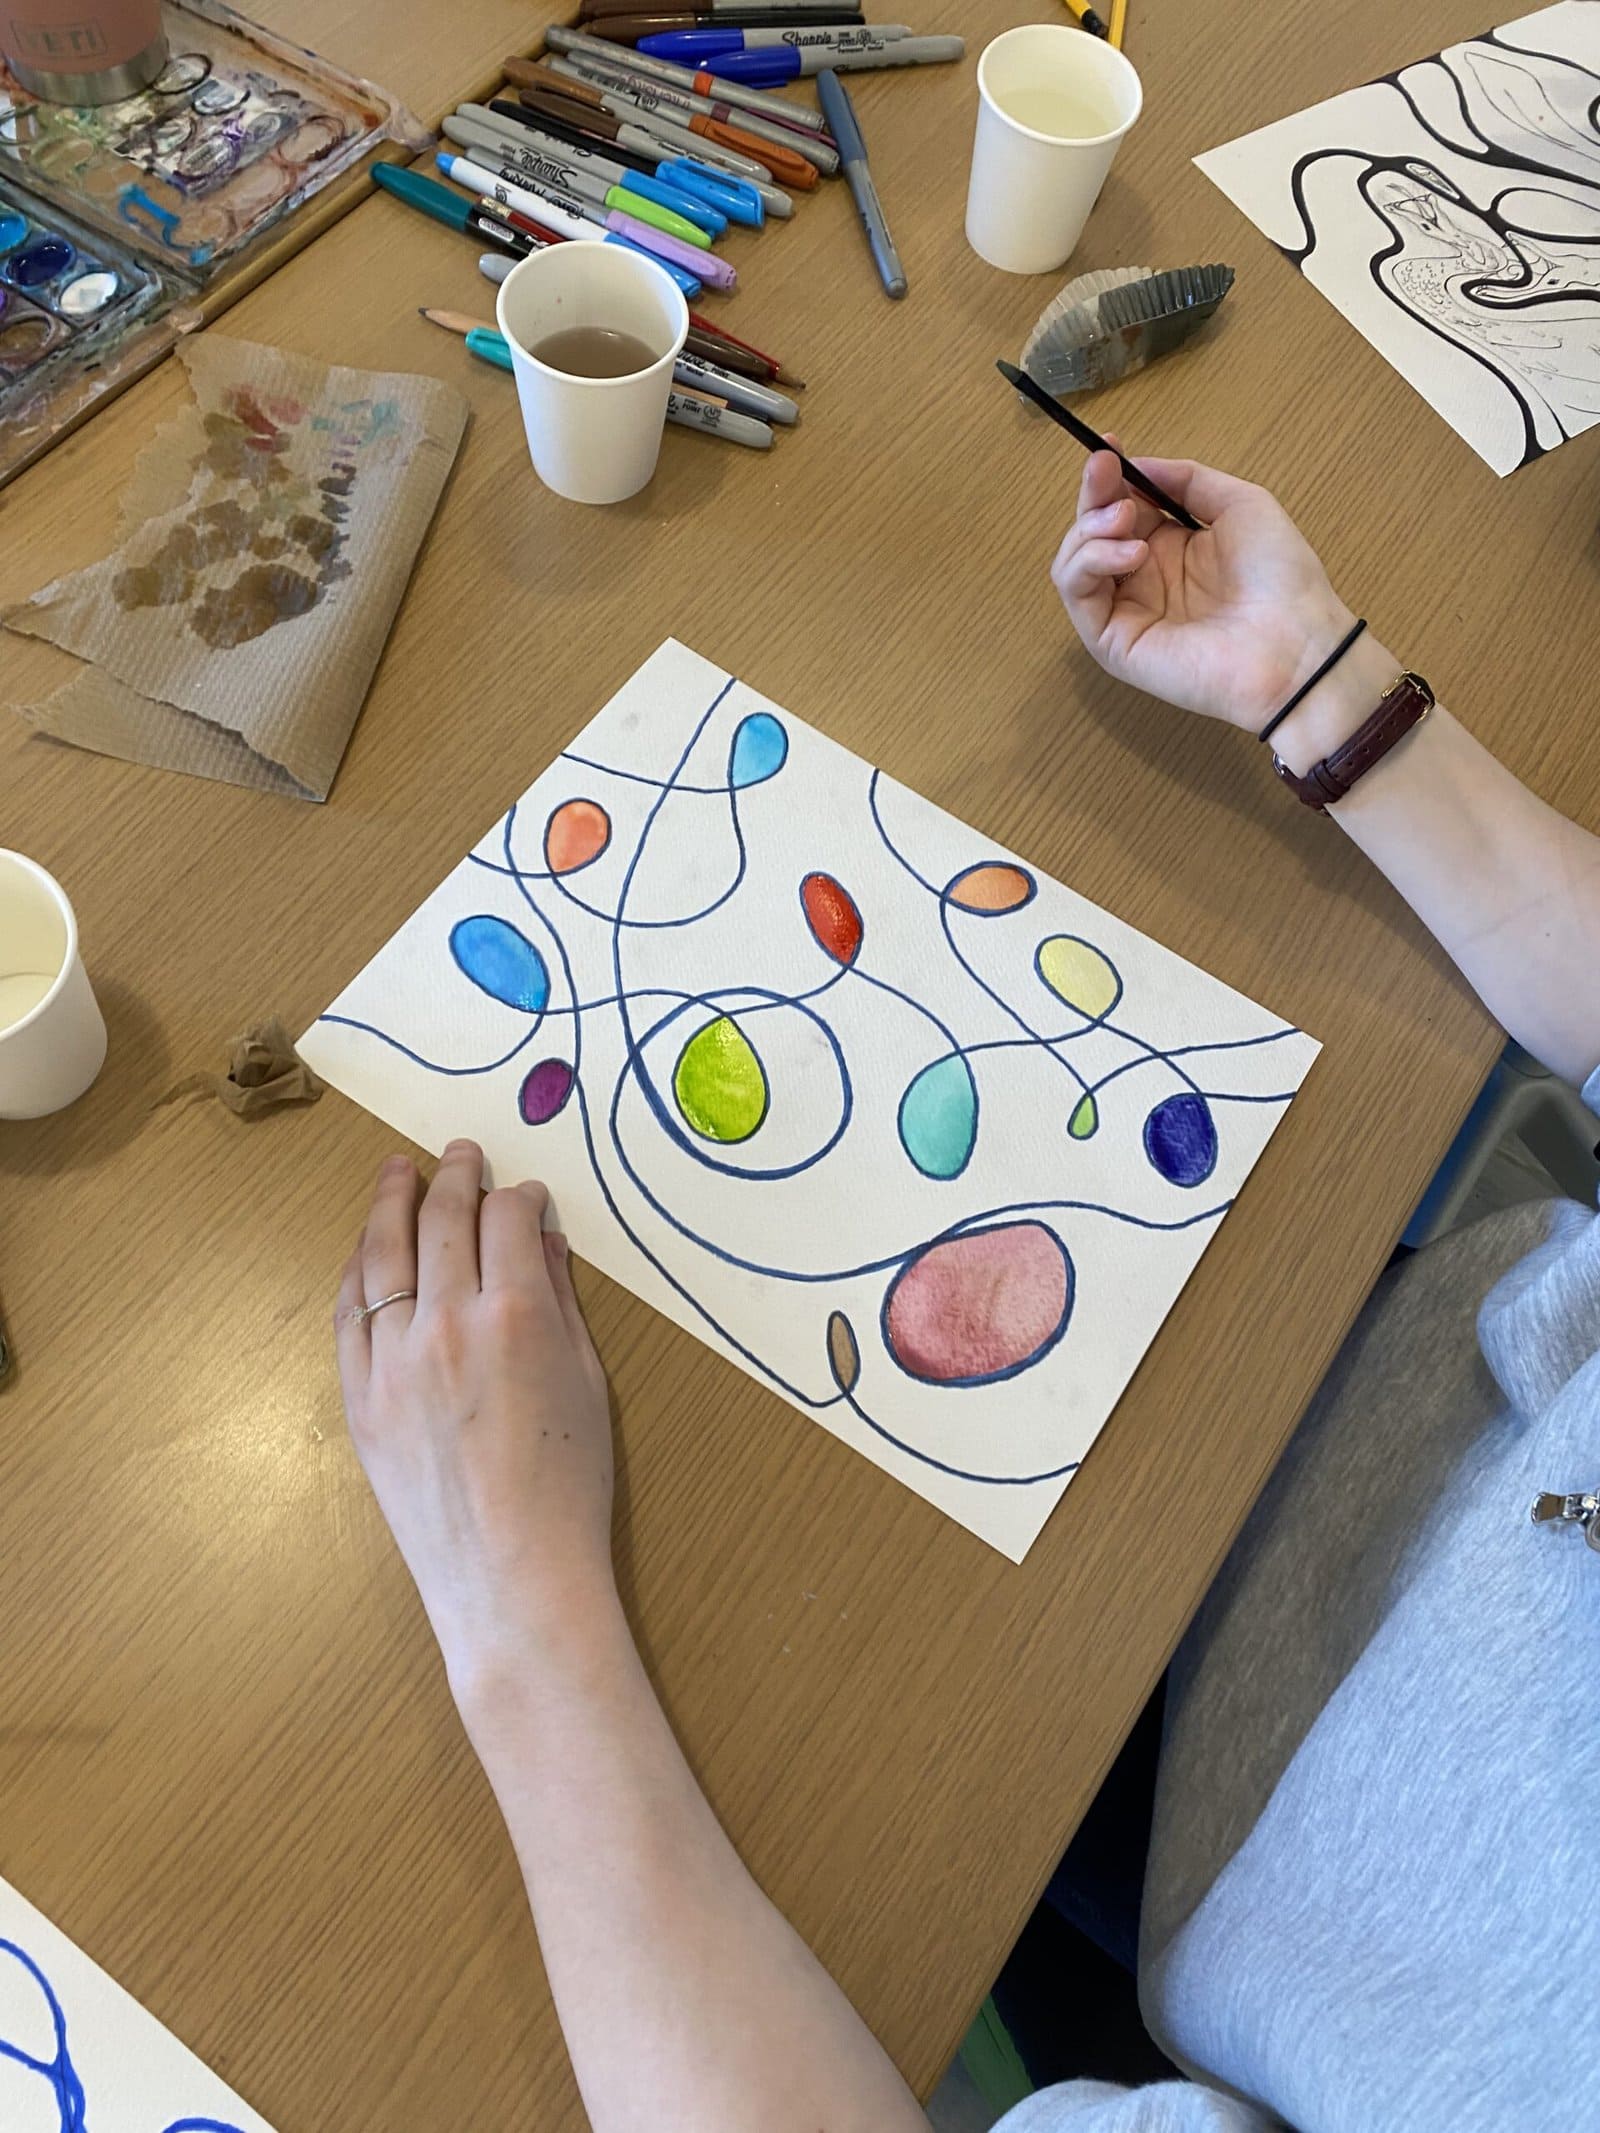
Step 2: Draw your Lines
With a distinct or dark coloured pen or marker, draw your lines. Your lines should:
- Flow from the edge of the page or blend into other lines, with no hanging ends,
- Be free formed and flowing,
- Change direction as you draw them.
- Be unique on the page, don’t repeat lines or ideas you’ve already incorporated.
Step 3: Soften your intersections
Curve all of your connections. This means, wherever two or more lines cross, soften and round the harsher corners with the same pen you used in step 2.
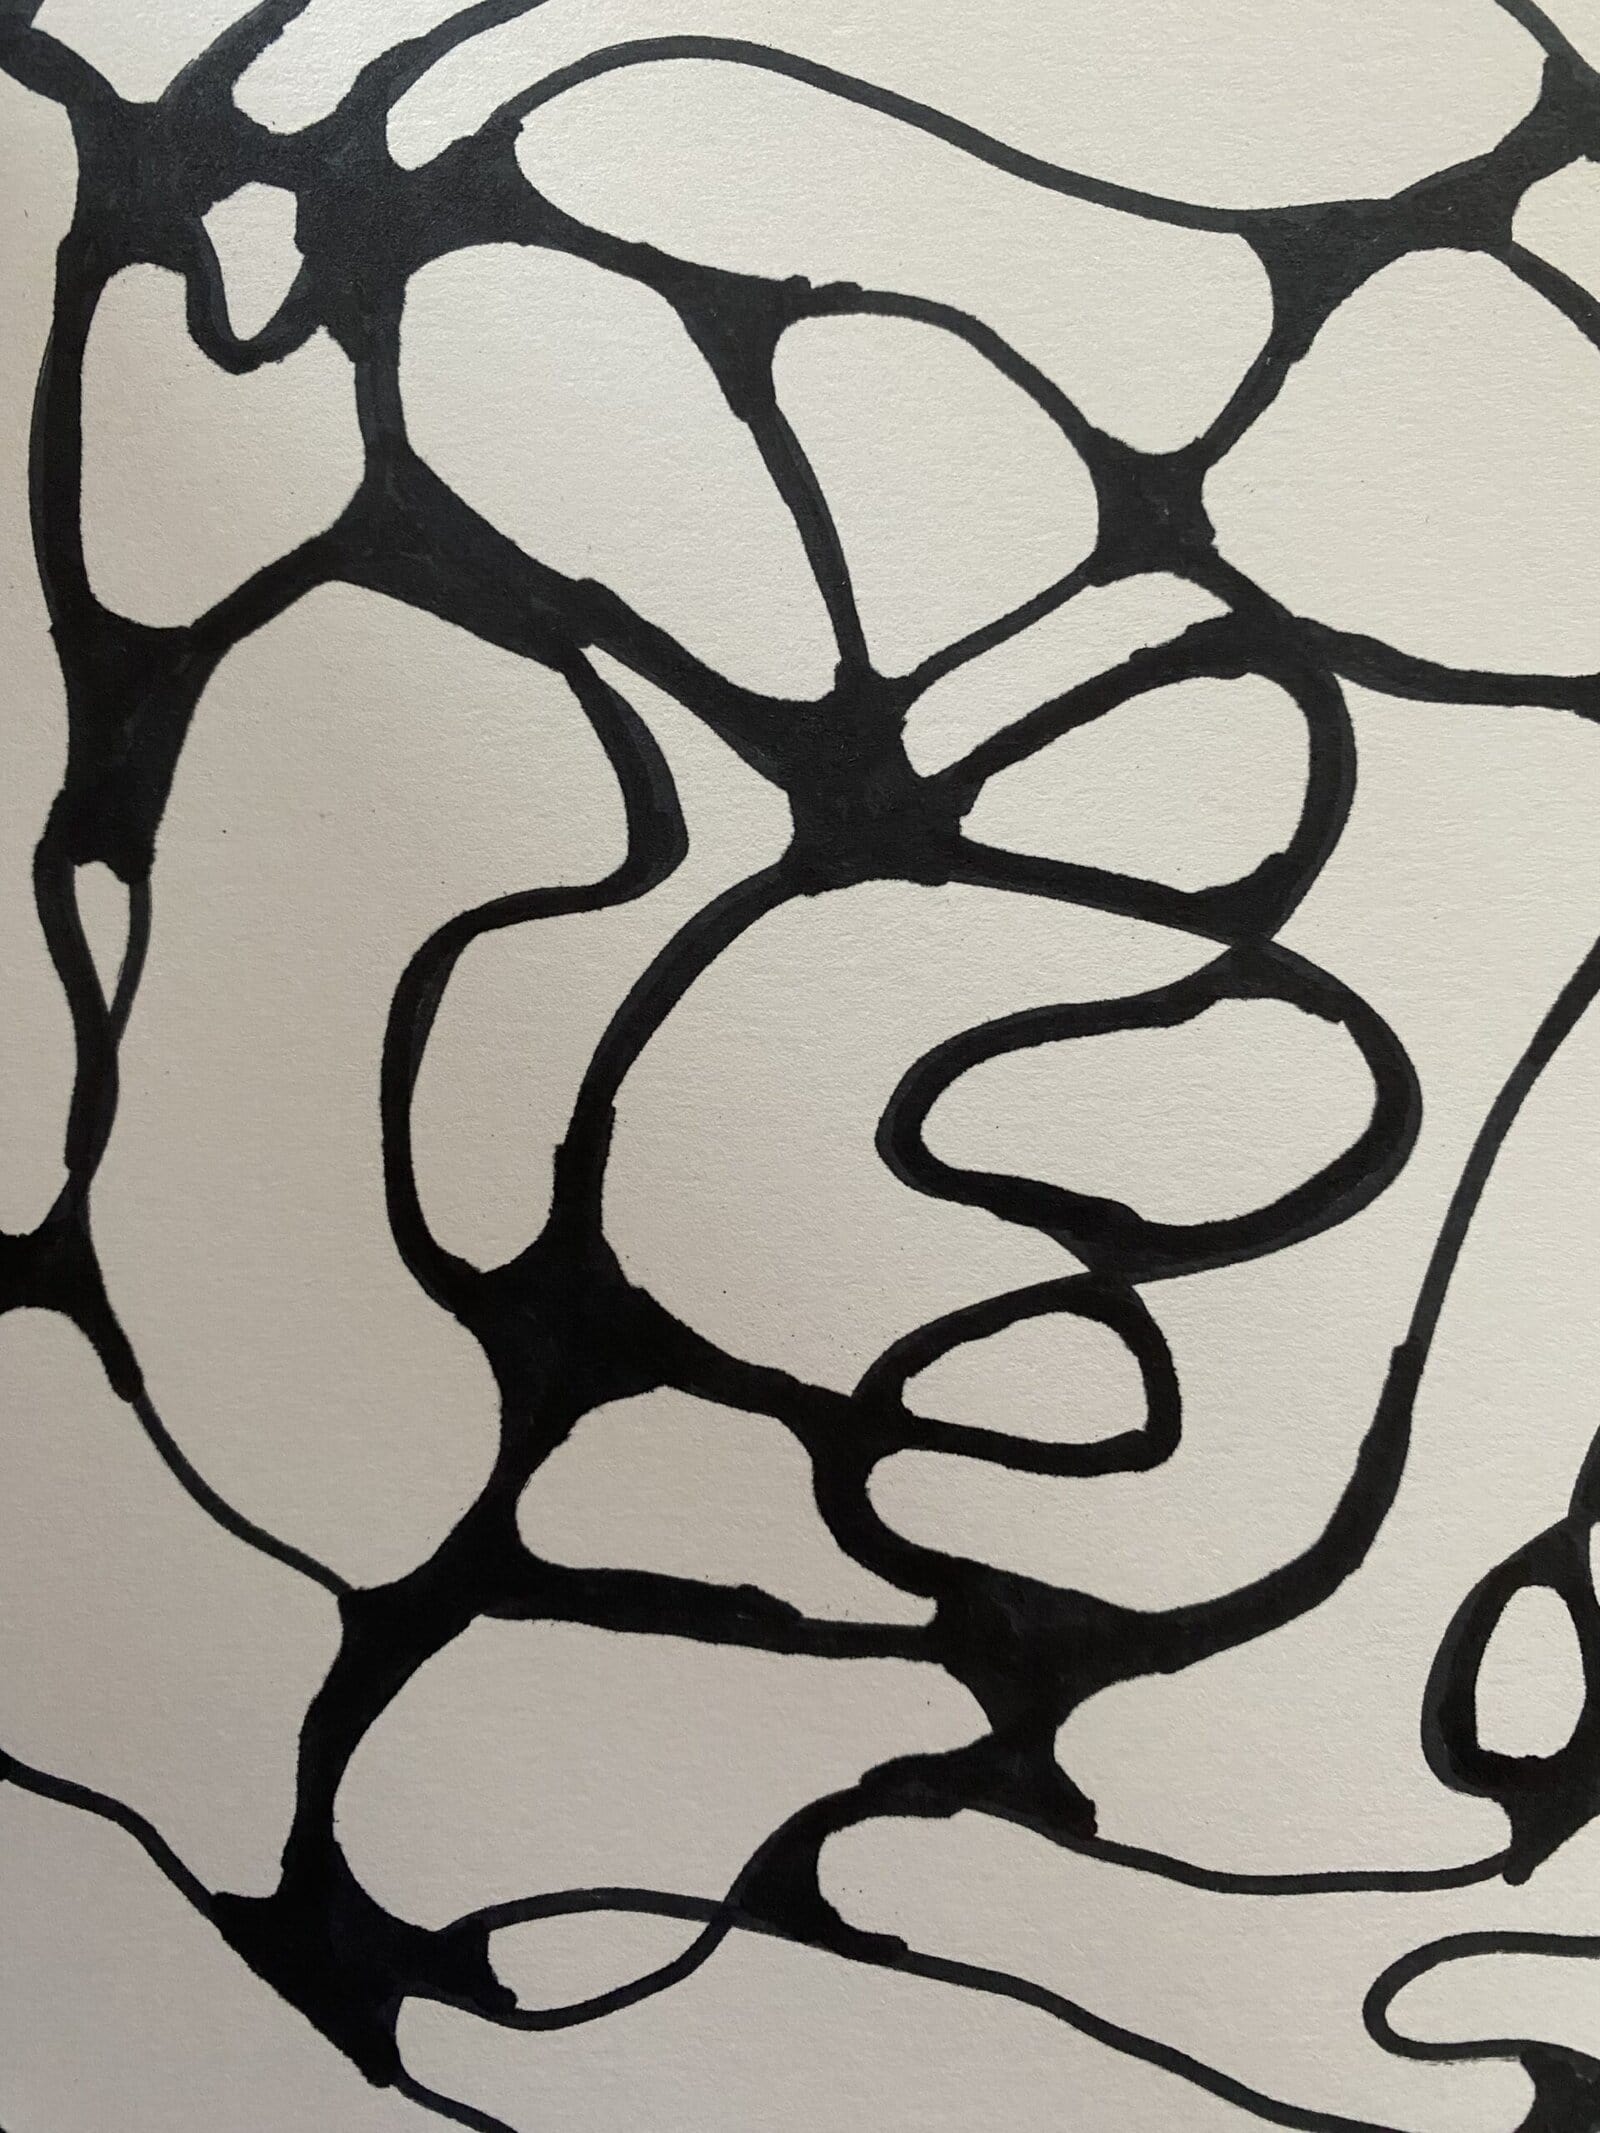
Take your time here. Think about reducing the tension in your work.
Tip: An intersection with two lines will have 4 rounded corners.
Step 4: Add details or additional shapes
Make additional connections where things feel isolated or empty. This can look like adding details or shapes to your work.
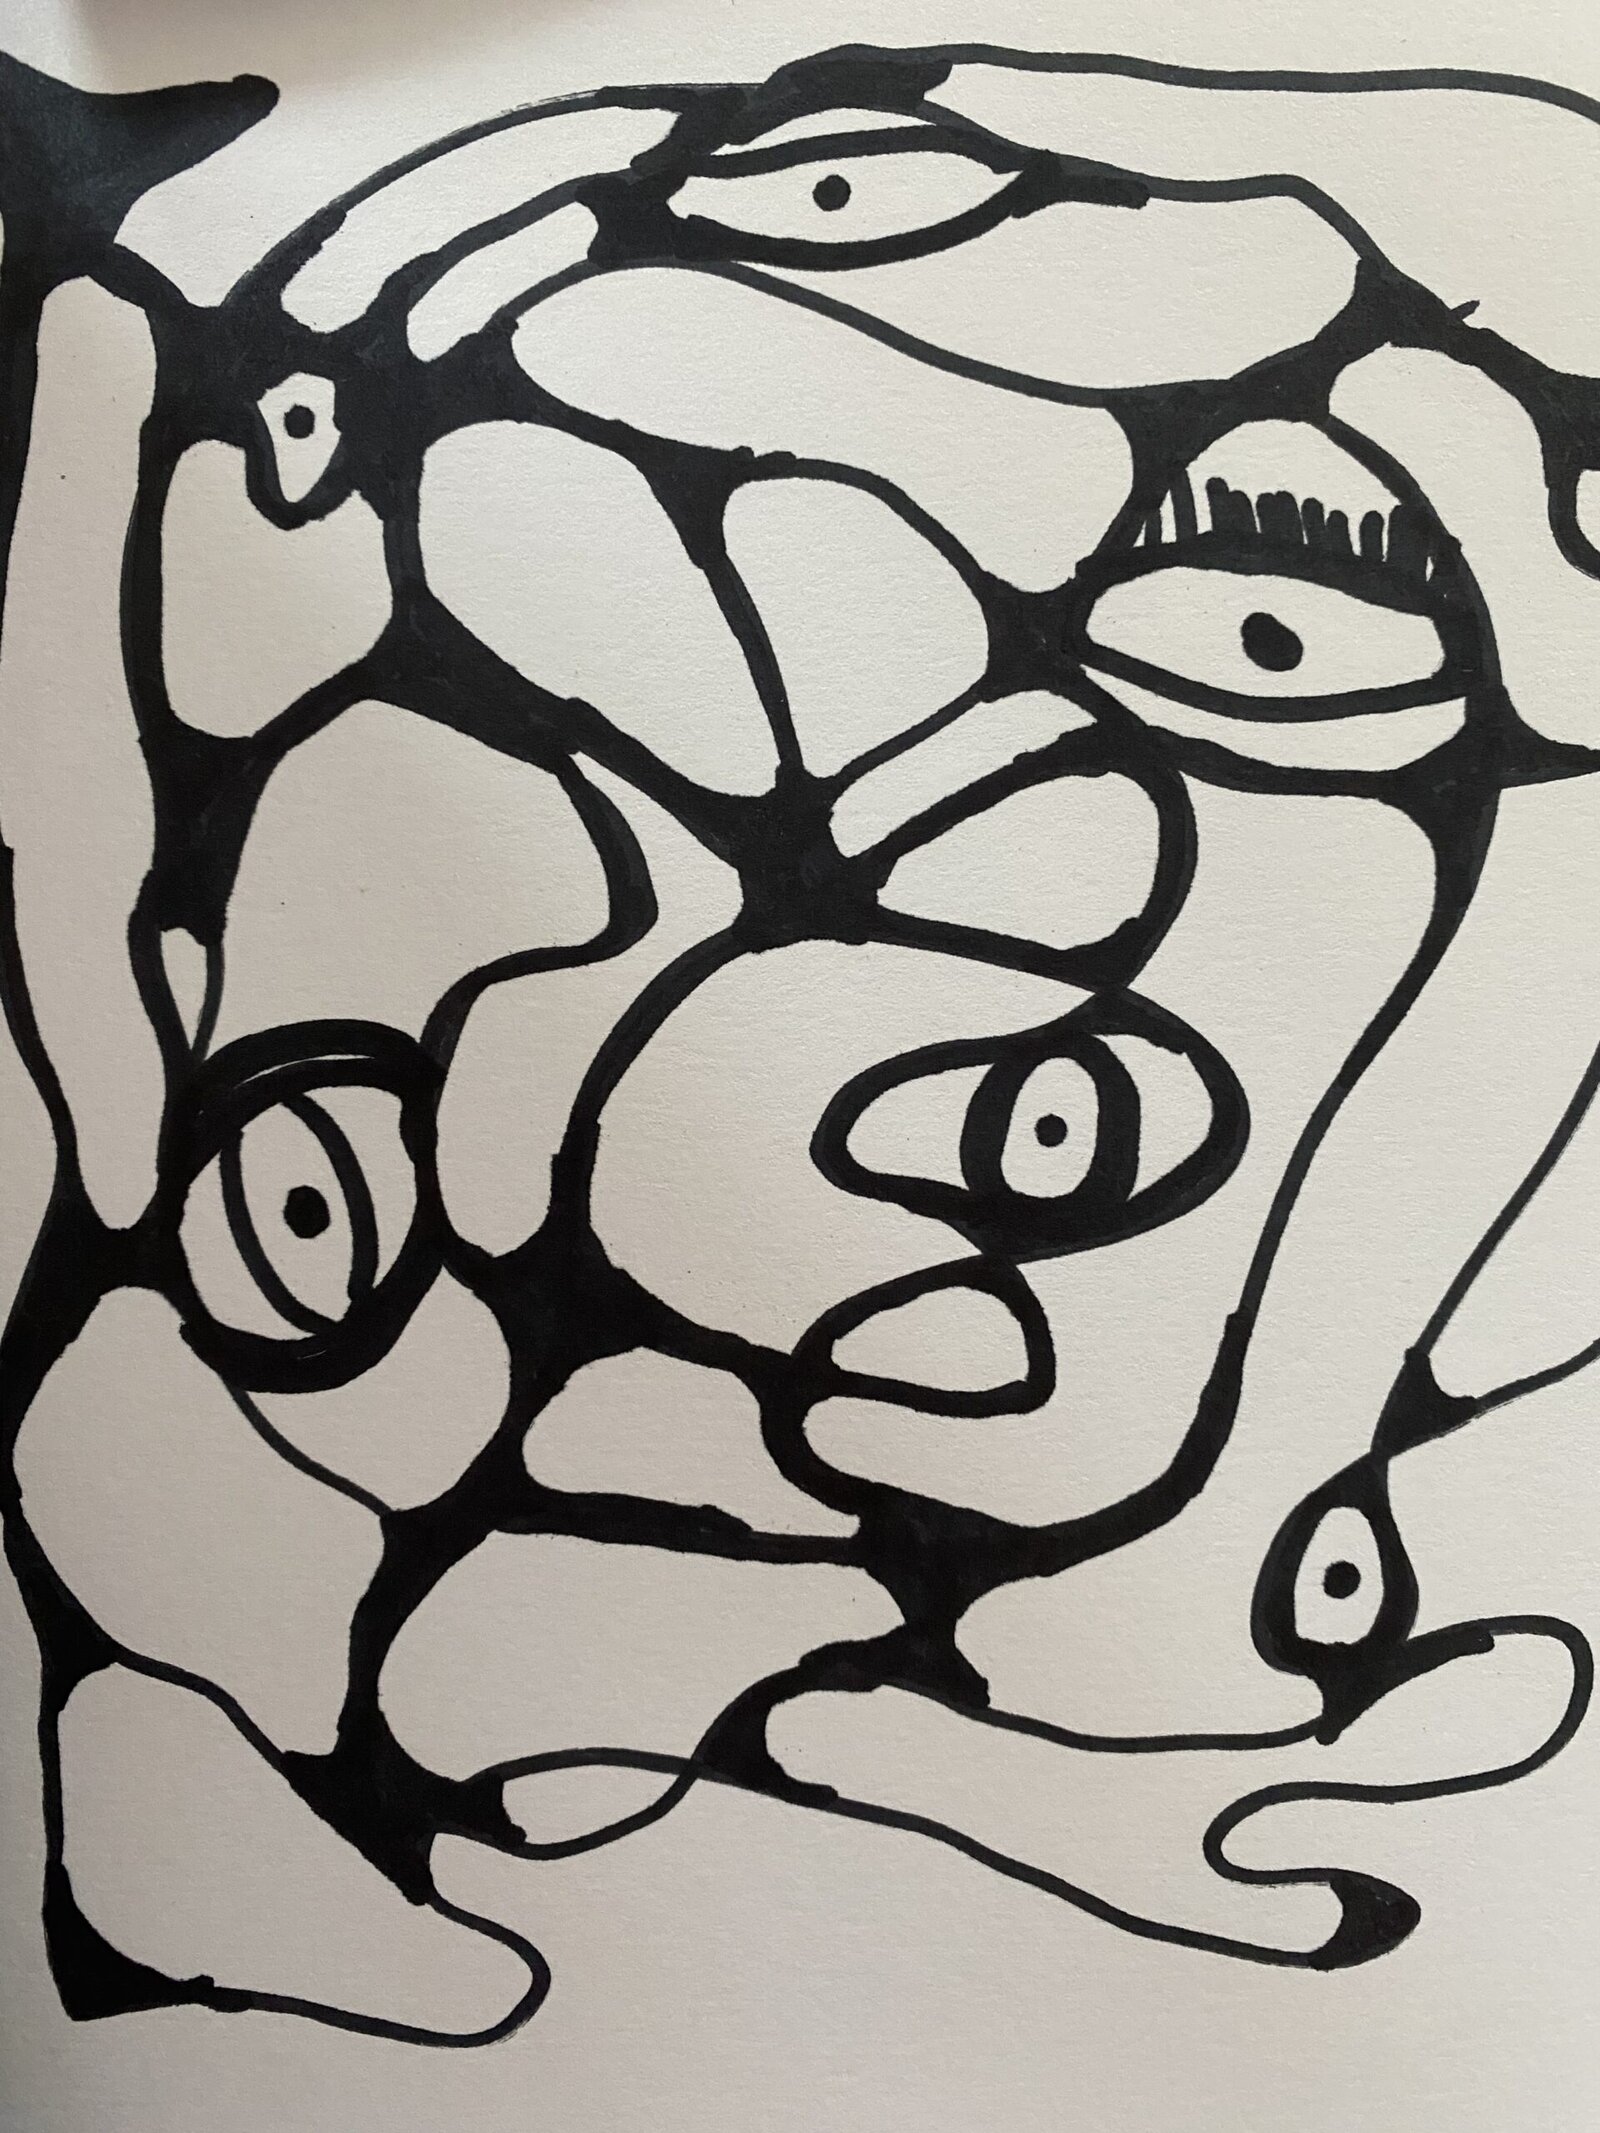
Tip: Remember to curve and soften any additional intersections you create in this step.
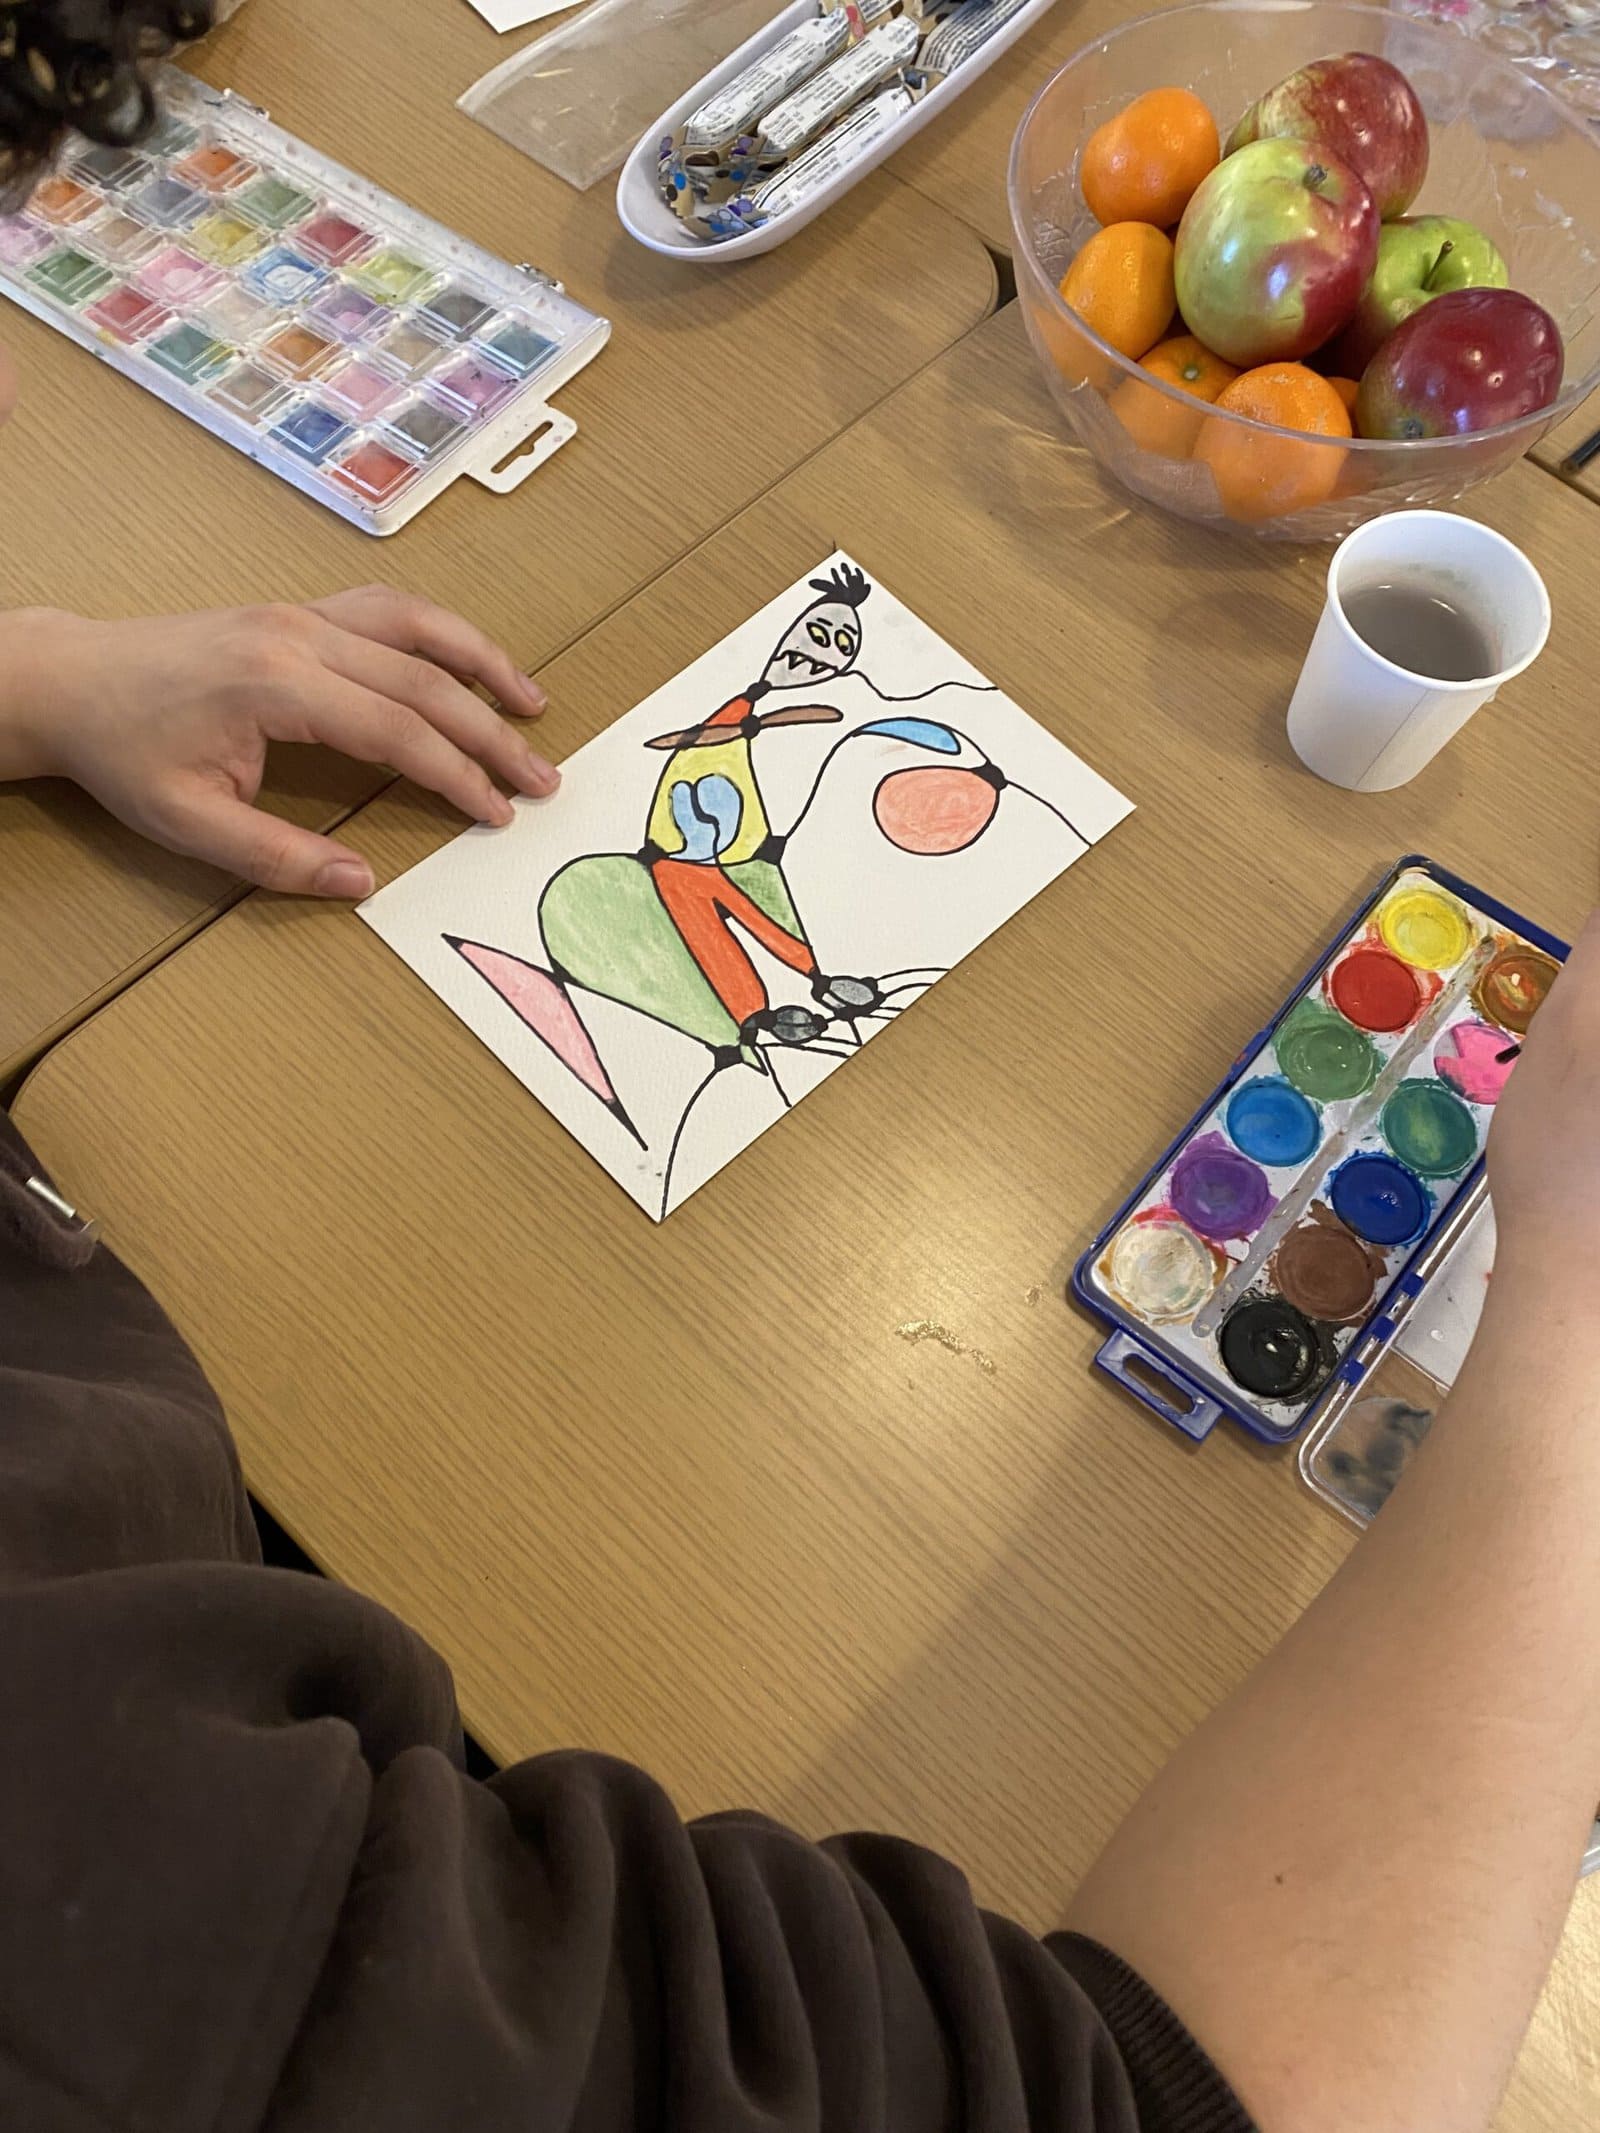
Step 5: Add Colour
Be intentional or spontaneous with colour choice and placement.
Every so often, take a step back from your work to consider any patterns or themes that might emerge. Choose to play with these or ignore them.
Tips (in no particular order)
- Use the spiderweb technique: Start in one corner of your page, draw a line. Repeat from all corners with different lines and directions. With 2 to 4 lines drawn, find a central intersection and start a line that spirals outwards from there.
- Use music to inspire you and keep you engaged on a specific emotion or topic.
- Try layering your artwork! Complete Steps 1 through 5, and then do it all over again on the same page!
- Pick a colour palette and stick to it.
- Ignore all instructions and do your own thing!
- Be patient with yourself. Don’t stress the small details. Work with your mistakes or wobbles.
Science Stuff
Proven Benefits to Neurographic Art
- Relief from anxiety,
- Finding peace/ settling your mind and body,
- Navigating back to “flow” state,
- Stress reduction,
- Clarity and perspective,
- Expression of feelings.
What Rounding your Intersections Represents
The purpose of rounding in neurographic art is symbolic.
Rounding the connections between lines represents neural pathways that are being made in the brain. By adding these rounded curves in your drawing, you’re visually capturing the concept of neural connections, and the brain process of always creating new associations and thoughts.
If you started this activity with a specific intention, rounding your connecting points can go further to help you explore new associations and thoughts about the issue, emotion, or question you’re investigating.
“Neuro” means “Neurons”
Neurons, or nerve cells, send and receive signals from the brain. They are known as body and mind connectors. They help us see, taste, touch, and move, and also enable our thinking and feelings.
Drawing Neurographic lines and patterns can strengthen existing neural pathways and create new ones. This art activity and process can enhance cognitive function, memory, and creativity.